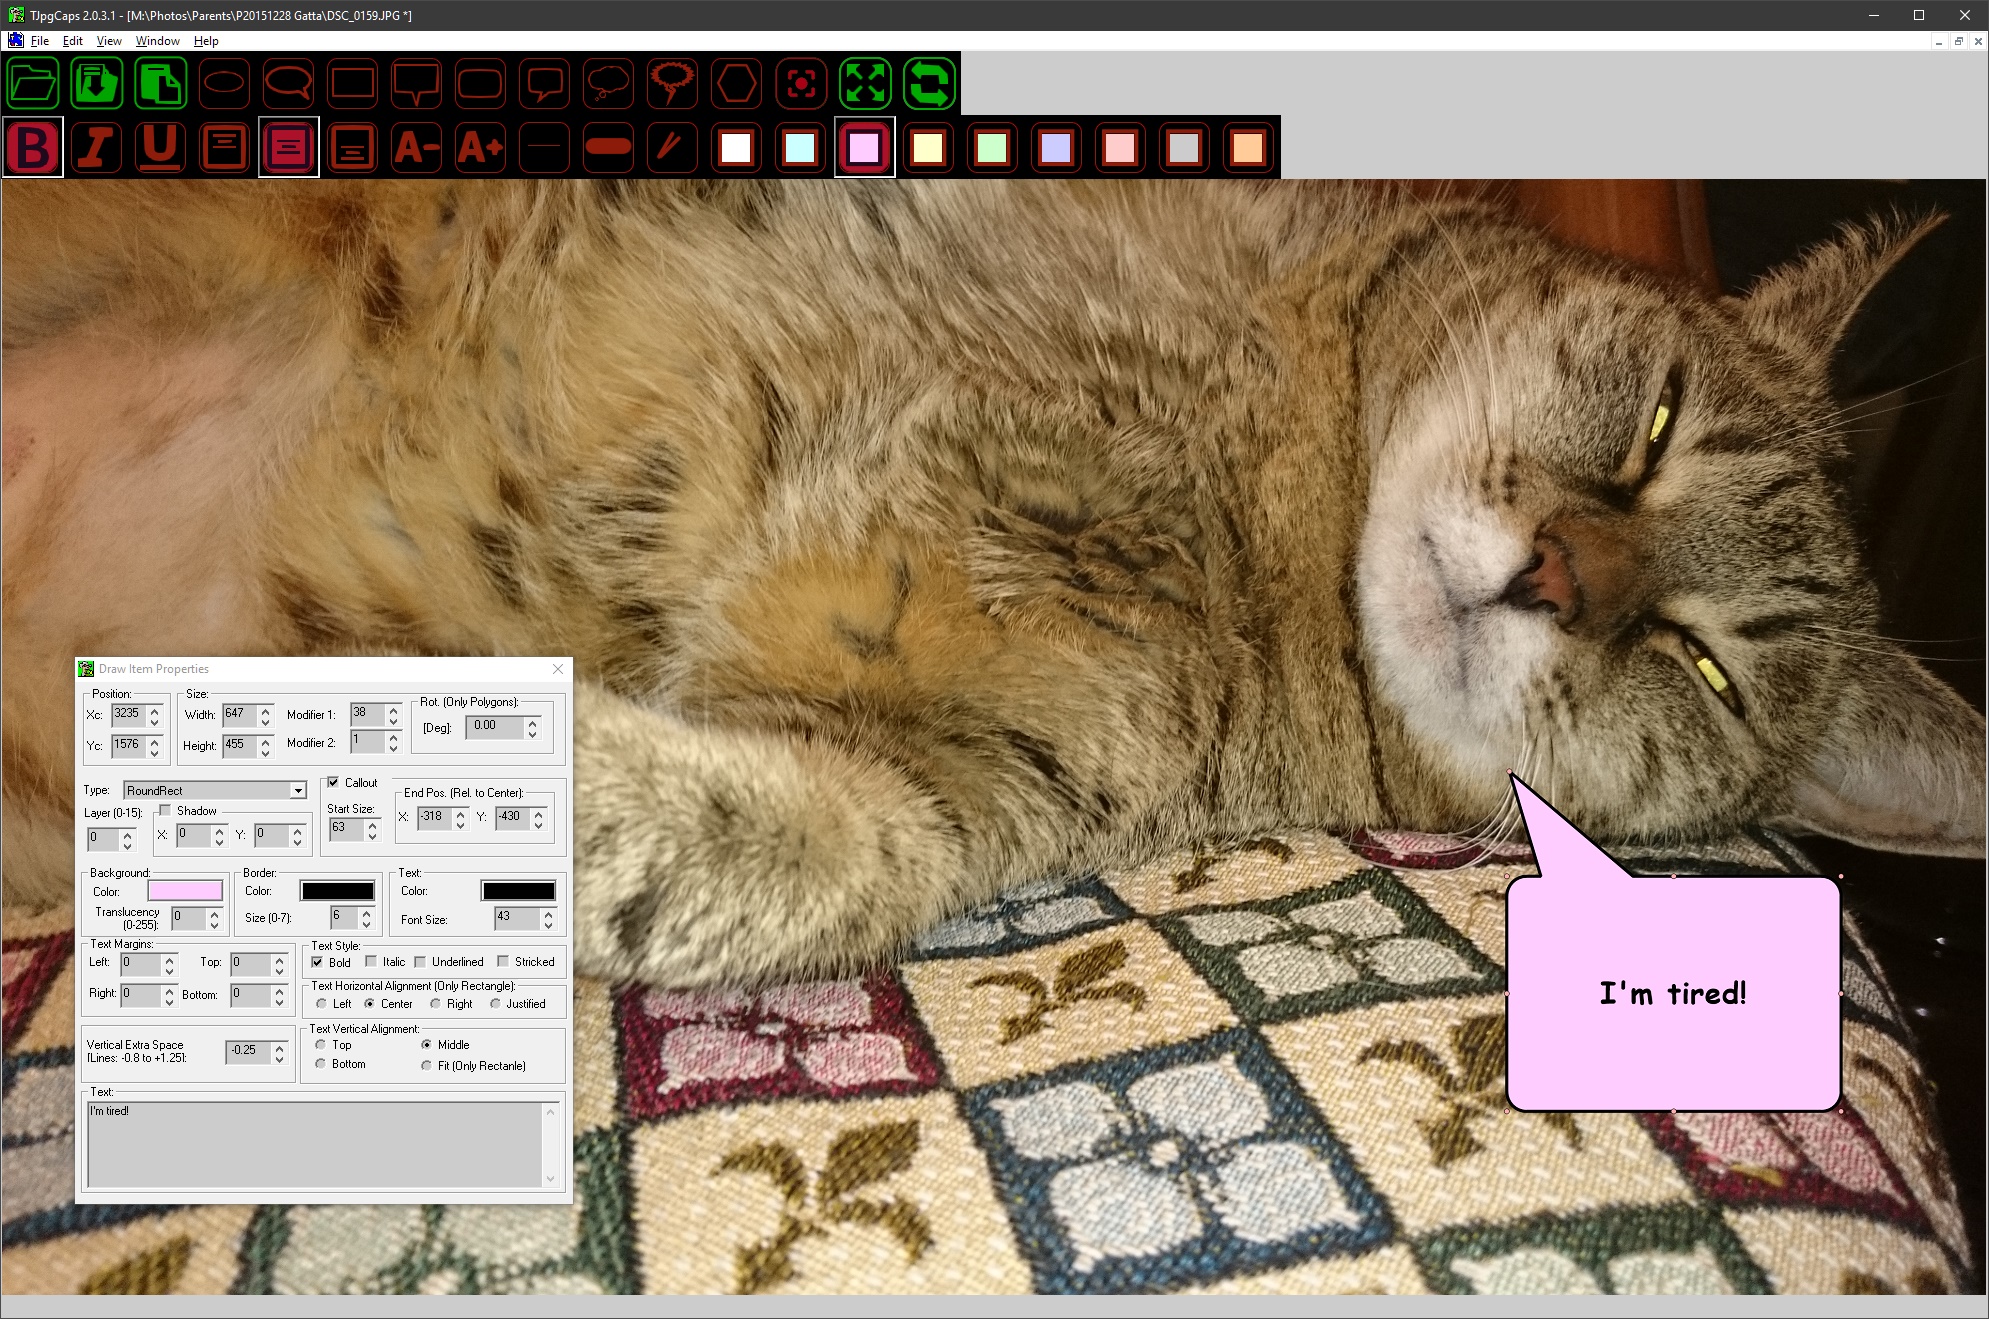
News in version v2.0.x.x
- Adding Context Tools to edit shape and text.
- Adding Lossless rotation of JPEG Images To correct visualization. (This rotation modify only the EXIF information. No Change is done on original Image).
- Double Click on the Collout to instant edit the collout text.
- Browser of the next image and previous image with a click
- Instant edit after insert e collout, writing. It automatically open properties window.
- Adding shadow on the callout and shape
- Compress of text into callout to store many more information into JPEG exif.
Application to insert a very simple Callout or shapes to captions images Jpeg. All drawing items
inserted are vectorial shapes and can be modified how desired using this application.
The original images are not modified. The drawing items can only be visible using this application.
The drawing items are stored inside the original image into metadata using exif standard format.
It's possible to merge the drawing items into an image with a special command.
In this case a new image is generated and modified with all the drawing items inserted on it.
In this case the drawing items cannot be modified but the new image generated will contains all
drawing items even when using other jpeg viewer applications.
The size of exif data are limited but many characters can be used before the maximum size is reached.
To expand this limit, the text inside the captions is compressed inside the EXIF data.
Anyway if the limit is reached, the application can store all drawing items into a separated file.
The application support 8 different layers. Using the menu is possible to visualize the desired
layers for the same image. For example a layer can be used to create a different version of a
captions on an image, or can be used to show dialogs in the same image.
The layers can be shown separated or togheter.
The main future of this application is to automatically compute text in order to have it all inside
the desired shape without inserting spaces or any other chars to avoid cross over with the shape.
No change is done on the original image. Only EXIF information are adding/modified, also for rotation.
The application has a very simple interface. Only a simple dialog to controll the selected callout
and the context menu. No other tools are present.
To insert a caption the context menu is used. By clicking with the right botton the context menu
will be visualized and it will be possible to select the desired shape to insert.
The "Properties" item is the only dialog interface used to totally control the shapes inserted and
the text associate to it.
The items selectable inside the context menu are the following:
- Add Simple shape: Open a sub menu in order to select one of the following shape.
The shame isn't a callout but only a simple shape.
- Ellipse:
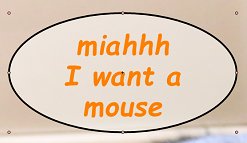 Insert an ellipse shape.
- Rectangle:
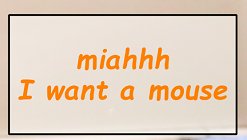 Insert a rectangle shape.
- Round Rectangle:
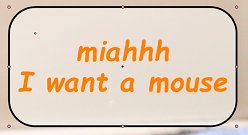 Insert a rounded rectangle using the Modifier 1 of
Draw Items properties dialog to change radius of roudend rectangle.
The radius can be modified also using the mouse on the Radius control point.
Insert a rounded rectangle using the Modifier 1 of
Draw Items properties dialog to change radius of roudend rectangle.
The radius can be modified also using the mouse on the Radius control point.
- Polygon:
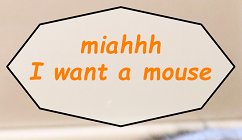 Insert a Regular Polygon of a specified side
using the Modifier 1. Using the modifier 2 can be modified only the even points of shape in order
to creare stars. For example changing the Modifier 2 to 234 value is possible have the shape of the following image:
Insert a Regular Polygon of a specified side
using the Modifier 1. Using the modifier 2 can be modified only the even points of shape in order
to creare stars. For example changing the Modifier 2 to 234 value is possible have the shape of the following image: 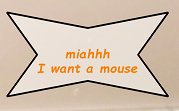 .
For the polygon shape is possible set a rotation to change start of the polygon sides.
.
For the polygon shape is possible set a rotation to change start of the polygon sides.
- Curved Polygon:
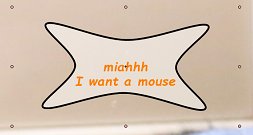 Insert a Curved regular polygon of a specified size using the Modifier 1.
The only difference with Polygon shape is that the polygon don't have acute angles but only rounded lines.
Insert a Curved regular polygon of a specified size using the Modifier 1.
The only difference with Polygon shape is that the polygon don't have acute angles but only rounded lines.
- Thinking:
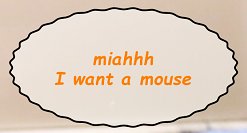 Insert a special shapes to show the action of
thinking. The modifier 1 can be used to add more depth to the little curves.
Insert a special shapes to show the action of
thinking. The modifier 1 can be used to add more depth to the little curves.
- Screaming:
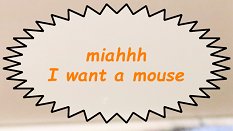 Insert a special shape to show the action
of screaming. The modifier 1 can be used to add more depth to the acute angle.
Insert a special shape to show the action
of screaming. The modifier 1 can be used to add more depth to the acute angle.
- Add Callout Shape: Callout are shapes with an arrow pointing to a speaker.
- Ellipse:
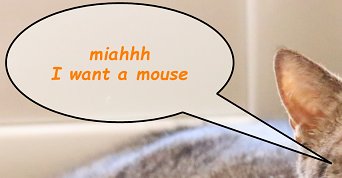 Insert an ellipse shape.
- Rectangle:
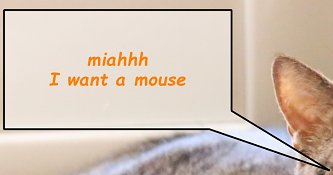 Insert a rectangle shape.
- Round Rectangle:
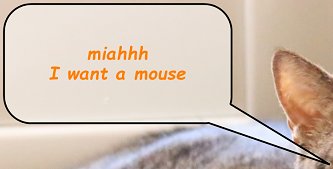 Insert a rounded rectangle using the Modifier 1 of
Draw Items properties dialog to change radius of roudend rectangle.
The radius can be modified also using the mouse on the Radius control point.
Insert a rounded rectangle using the Modifier 1 of
Draw Items properties dialog to change radius of roudend rectangle.
The radius can be modified also using the mouse on the Radius control point.
- Polygon:
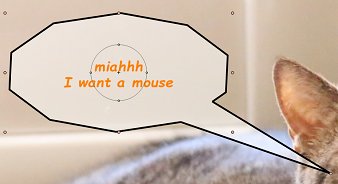 Insert a Regular Polygon of a specified side
using the Modifier 1. Using the modifier 2 can be modified only the even points of shape in order
to creare stars. For example changing the Modifier 2 to 234 value is possible have the shape of the following image:
Insert a Regular Polygon of a specified side
using the Modifier 1. Using the modifier 2 can be modified only the even points of shape in order
to creare stars. For example changing the Modifier 2 to 234 value is possible have the shape of the following image: 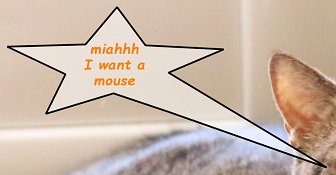 .
For the polygon shape is possible set a rotation to change start of the polygon sides.
.
For the polygon shape is possible set a rotation to change start of the polygon sides.
- Curved Polygon:
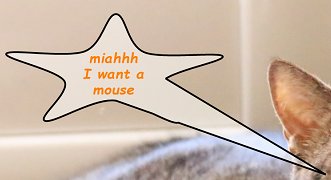 Insert a Curved regular polygon of a specified size using the Modifier 1.
The only difference with Polygon shape is that the polygon don't have acute angles but only rounded lines.
Insert a Curved regular polygon of a specified size using the Modifier 1.
The only difference with Polygon shape is that the polygon don't have acute angles but only rounded lines.
- Thinking:
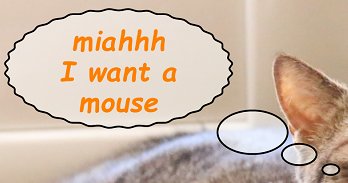 Insert a special shape to show the action
of thinking. The modifier 1 can be used to add more depth to the little curves.
Insert a special shape to show the action
of thinking. The modifier 1 can be used to add more depth to the little curves.
- Screaming:
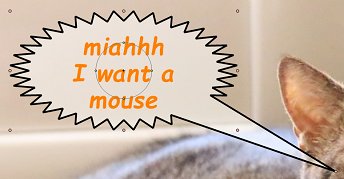 : Insert a special shape to show the
action of screaming. The modifier 1 can be used to add more depth to the acute angle.
: Insert a special shape to show the
action of screaming. The modifier 1 can be used to add more depth to the acute angle.
- Add Custom Saved Shape: Open a sub item in order to insert a custom saved Shape item using the "Save Selection to custom shape."
- Apply Custom Saved Shape: Open a sub item in order to Apply a custom style saved to the selected Item without change the text.
- Save Selection To custom Shape/Style: Open a sub item to select a slot to save the selected drawing item.
- Delete Selected: Delete the actual selected item.
- Move to Top: Change the Z order to move the selected item in from anything.
- Move Up: Change the Z order to move the selected item one level up.
- Move to Bottom: Change the Z order to move the selected item to bottom.
-
- Move Down: Change the Z order to move the selected item one level down.
-
- Properties: Open the Drawing Item dialog in order to change the selected item.
Draw Item Properties
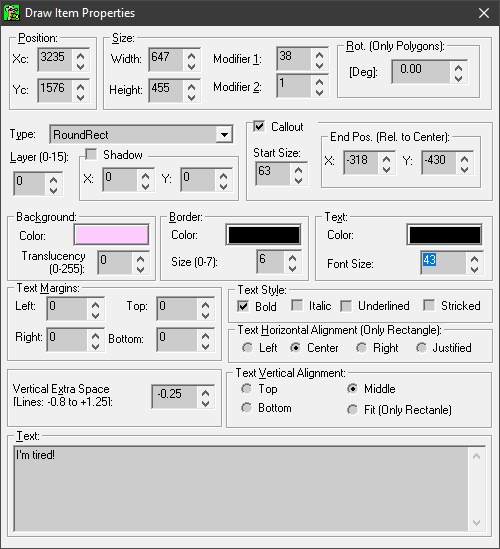 The dialog is used to change parameters of the selected draw Item. Using this dialog can change:
- Center Position: Xc is the center horizontal position (pixels) relative to left of the image.
Yx is the center vertical position (pixels) relative to the top of the image.
- Size: Width and height of the shape (without callout) in pixels.
- Modifier 1: Used to change drawing of the shape. It's dependent from the actual shape type.
- Modifier 2: Used to change drawing of the callout. Used for the Thinking shape to set spaces for the ellipse.
- Rot: Used only for the polygon shape and curved polygon in order to set start position of the first point of the polygon.
- Type: Change the shape to one of the following:
- Ellipse
- Rectangle
- Round Rectangle
- Polygon
- Curved Polygon
- Thinking
- Screaming
- Layer: Every Drawing Item can be set visible only on a specified layer. There is 0-7 layers.
Using a menu it's possible show one or more layers. Only item with the layer selected will be shown.
- Callout: Cheking it enable or disable the arrow. The End Pos specify the point of this arrow relative to the
center of the shape. The start Size is the width of the arrow.
- Background: Used to set the color of the background of the shape (and callout). It's possible
specify a translucency value (0 Opaque to 255 transparent).
- Border: Used to specify the color of the border and the size. 0 to disable border.
- Text: Used to specify the color of the Text and the size of the font.
- Text Margins: Used to specify the distance from the border of the shape of the text.
The all text will be shown inside the shape. If the text is too big the text will be cut.
tt's not possible crossover the text over the shape.
- Text style: Used to change the style of the text.
- Vertical and Horizontal Alignment: Used to set position of the text relative to the shape.
- Vertical Extra SpaceIt's used to change the vertical space between multi rows.
- Text: Used to set text to shown inside the shape. Use Ctrl+Return to force new row line.
Shortcut
While the mouse is moved in order to move callout, using the Ctrl key is it possible to move only
the shape without moving the arrow. Changing the shape's size is also possible by moving around the
center still pressing Shift Key.